Is your PC shutting down abruptly? Don’t worry, D4G are here to help you fix this issue while paying out the bare minimum!
1. First, lets try to pinpoint exactly when your PC is shutting down. We’ll then work down from the most cost-effective ‘quick fixes’ to the more expensive hardware replacements.
a) PC Shutdown seems random (no matter what you’re doing and even while the PC is idle)
VIRUS/MALWARE/SPYWARE: Scan for errors while keeping a close eye on the scans progress (get a pen and paper to hand). If your computer shuts down while scanning a particular file, make a note of it and its location. Run the scan again but now target that specific file. Did the shutdown occur faster than usual? If so, the virus is more than likely to be the cause and if your PC isn’t giving you the chance to zap it, you need to format that hard drive and fast!
If that doesn’t work = This is showing the potential to be a hardware fault (especially if you’re not even given time to perform a scan). Move on to ‘b)‘ and go through the list (although we would recommend starting from ‘PSU’ and then move back to the top of our ‘b)’ list and work down.

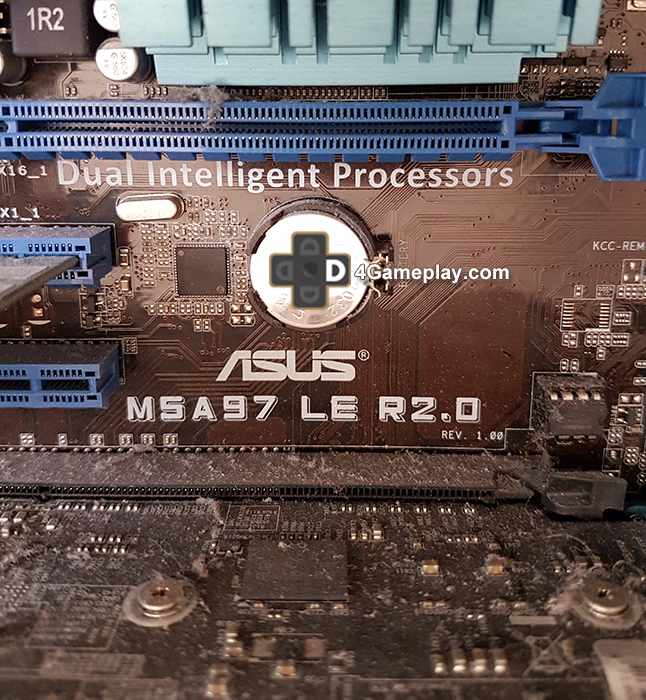
One of our old CPU’s with the heat sink and fan removed (still covered in old, dry thermal paste). Cleaning your fan and adding new thermal paste can really make the difference to your computers health.
b) PC Shutdown occurs while playing a game
GAME: Would this be one particular game? If so, try reinstalling the game and updating your graphics card drivers.
If that doesn’t work = Move onto further hardware diagnostics below
CPU: Download SpeedFan and once this is installed, load-up and keep an eye on the ‘Core:’ temperature. If your PC shuts down while a flame symbol is shown next this, your CPU is overheating (causing the PC to shut down in order to save your CPU’s backside!). Why is the CPU second on this list? Believe it or not, this could turn out to be the most cost effective hardware fix. First, lets start with the CPU’s fan.
You will need: A non-magnetic screwdriver, compressed air can (air duster), 99% isopropyl rubbing alcohol solution, cotton buds or lint-free wipes (if your isopropyl alcohol is in the form of wipes, these will be lint-free anyway) and some thermal paste. Never forget to ask your local electrical stores for any of these items beforehand. They’ll always be grateful for your support!
– Once your PC is off and fully unplugged from everything, open it up and unfasten the heat sink and fan from the CPU. Once this is free and in your hand, use your compressed air can to get as much dust out of the fan as possible. Make sure to get the air duster straw between every blade and opening that surrounds it. Dust is one of the major killers of CPU’s, preventing the fan from doing its job (extracting heat from the CPU) and causing the CPU to overheat under normal workloads.
– Once you’ve cleaned your heat sink and fan, you’ll need your thermal paste. This is another CPU killer. Thermal Paste is designed to form a perfect seal between the heat sink and fan and your CPU, maximising heat extraction. Once your thermal paste expires (it will become unsettled and require reapplication every few years), this will leave your CPU incredibly vulnerable to overheating. Now you have the fan removed, you need to use a few drops of isopropyl alcohol to soak over the dry paste. Use lint-free wipes or cotton buds to gently rub all the paste away from the bottom of the heat sink and fan, as well as the CPU itself (or you can simply use a couple of isopropyl alcohol wipes). Once your CPU and heat sink base gleam, allow the alcohol to fully evaporate and squeeze new thermal paste (around the size of a pea) onto the centre of the CPU.
Carefully line-up your heat sink and fan over your CPU, then firmly press down into place (fastening your heat sink and fan). You may have just saved yourself a small fortune!
The heat sink and fan aren’t the only casualties of dust build-up. One of our older PC’s shows you just how much dust can build-up over the years. Make sure you check and clean your PC every 6 months for optimal performance.
If that doesn’t work = If you’re CPU is still overheating, this could be a sign your heat sink and fan need replacing. Look-up your CPU with its manufacturer (call or live chat with them, if need be) and buy a replacement they recommend for your exact CPU type. CPU’s either die or just require better cooling and it’s very rare that they’ll begin to gradually fade. However, if the new fan doesn’t work, it looks like a new CPU is in order.
RAM: Using your Start Menu/Run/Cortana type ‘mdsched.exe’ and hit enter. You’ll see options to restart and test your RAM now, or test on the next startup. Select what you’d prefer and make sure you’re watching the scan. If any errors are detected, your RAM module may be causing your sudden shutdowns. Have more than one RAM module in your machine? Don’t worry, once your PC is shutdown and fully unplugged, open your machine and remove one module stick. Perform the RAM test again and repeat this method with each RAM module to determine what RAM stick is causing the shutdown.
If that doesn’t work = Move onto our Hard drive and PSU tests.
HD: Earlier versions of windows will contain a powerful hard drive error checker. You can access this by opening any folder and selecting ‘My Computer’ and right clicking on the hard drive you wish to scan. Once the pop-up menu appears, click ‘Properties’ and find the ‘Tools’ tab. You’re looking for an ‘Error Checking’ section with a ‘Check now…’ button. Hit that and keep your eye on the scan for any errors. Any errors detected could spell that a faulty HD is causing the shutdown. Backup files and replace the hard drive as soon as possible.
Using Windows 10? We’d recommend downloading HD Tune Pro and performing a full error scan.
If that doesn’t work = Move onto testing/replacing the PSU.
PSU: We’re only one away from the most inconvenient and expensive upgrade (so we really hope you’ve found your issue by now). Still getting your shutdown? The next step would be your PSU (Power Supply Unit). Remember, your PSU doesn’t constantly produce the same wattage. PSU’s are designed to produce exactly what’s needed. This means that if you begin a virus scan (gradually demanding more and more voltage to the CPU) or play a game (always demanding more juice for RAM, graphics cards and the CPU), your PSU may not necessarily show its fault as soon as your systems starts.
– Testing your PSU. Power supply unit test kits can be purchased that will allow you to test performance. Follow the instructions carefully and you’ll be able to find out if the PSU is the route of the problem, before replacing it.
– Replacing your PSU. Once you have your PC off and fully unplugged, grab your mobile and take a nice wide photo of how everything currently sits. Once you’ve done this, you’ll need to disconnect the PSU’s cables that connect to CD/DVD drives, hard drives, fan, graphics card, CPU and motherboard. Making a note of these will also help (but at least you’ll have that photo to help you). Once everything the PSU links to has been disconnected, unscrew the PSU from outside the case and pull it out. Newer PSU’s are far more energy efficient and designed to only use cables your motherboard needs (lowering your electric bills and reducing needless clutter).
Screw your new PSU into place and use your notes/photos to make sure everything is connected to the PSU.
MOTHERBOARD: Yup, it’s the big one. We really hoped it wasn’t this but if you’ve already tried everything else on this page, it seems you need the ultimate hardware replacement. Motherboards are expensive to replace, not just because of their initial cost, but the domino affect it will have on every other piece of hardware in your system. Replacing this bad boy could easily lead you to require a more modern CPU and if you’re still on DDR3, you’ll most certainly need to sell your old RAM for newer DDR4 modules.
D4G Upgrade Tip: We always recommend upgrading where you can (never buy the same parts, always strive to buy upgrades) but we can understand the cost inconvenience a motherboard fault can have. If you’re confident with motherboard installation, we’d also recommend taking a look at motherboard bundles. These will have the CPU, heat sink and fan (and sometimes even RAM) already attached at a much lower price than buying them all individually.
c) Happens while performing virus/malware/spyware scans
Try and make a note of exactly where the virus scan got up to, before the PC shuts down. Once you have a note of the file and folder, begin a scan that only focuses on that folder. Does your PC shutdown faster? You may have a rather nasty virus and if your PC is shutting down (regardless of what recommended Anti-Virus/Spyware/Malware software you use, you’ll need to nuke it, by completely formatting the hard drive asap.
We hope this post helps solve your PC issues (and saves you some cash as well). We’ll be updating it here and there but please feel free to add your issues and findings via the comments below.
